Introduction
@antelopejs/dms-database is the database console of the AntelopeJS DMS. It reads every schema the loaded modules register through the Database interface and gives the platform owner one place to check the connection, understand the structure, browse rows, fix a value and run a query.
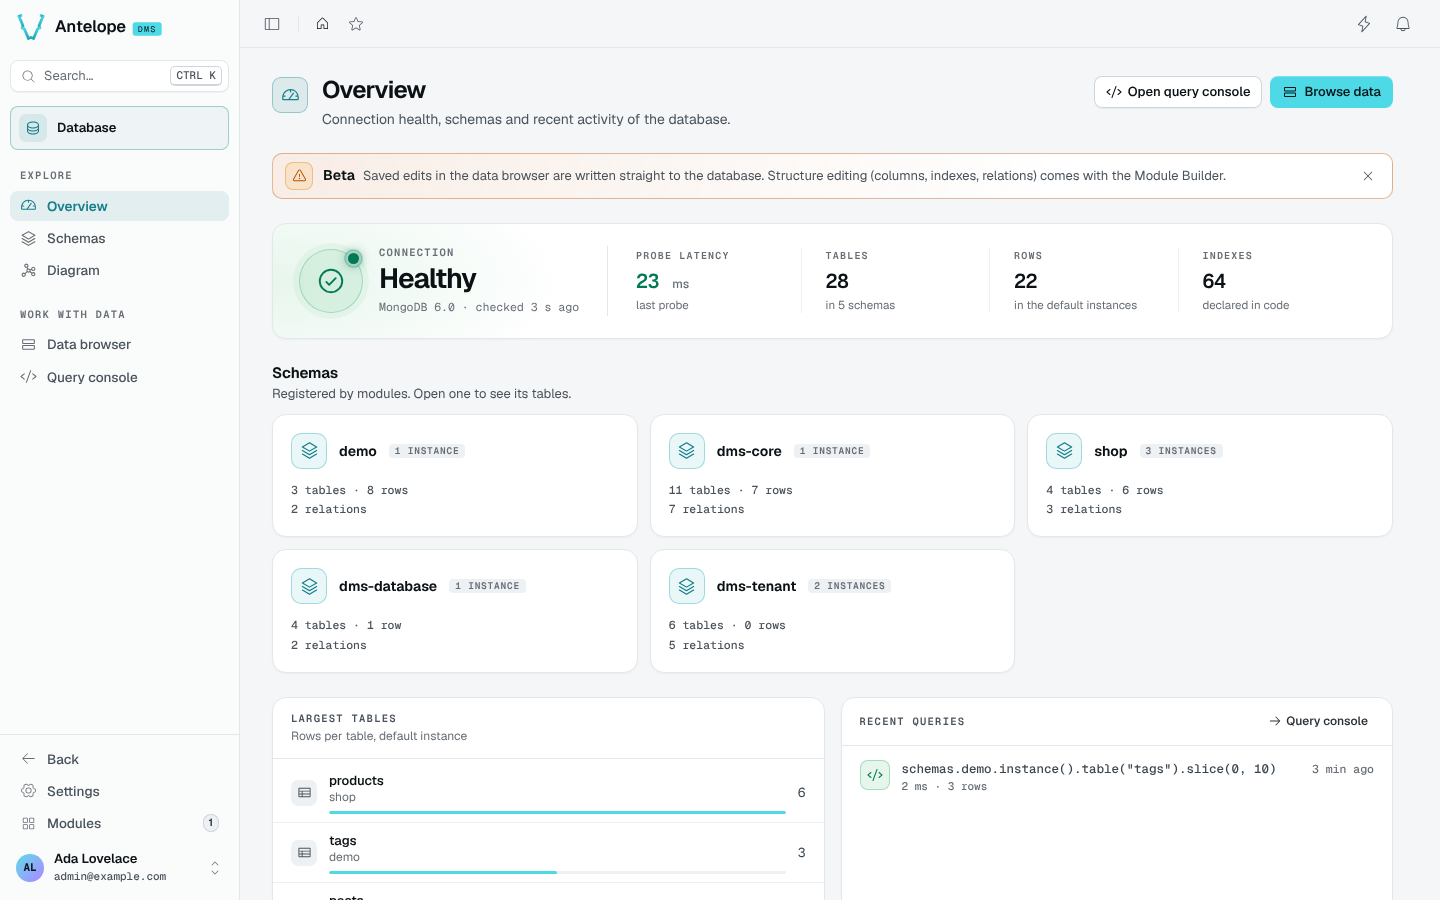
What it brings
The module adds a Database entry to the Modules catalog, with five pages under /modules/database:
Overview
Connection health and probe latency, one card per schema, the largest tables and the latest queries.
Schemas
Every registered table with a filter bar kept in the URL and an inspector for columns, indexes, relations and a sample row.
Who it is for
The pages are reserved to the platform owner: the DMS gates every /modules/database route owner-only, and the module's API answers only to the owner. Tenants and their members never see it.
Requirements
@antelopejs/dms0.9 (@antelopejs/interface-dms0.7) and@antelopejs/dms-frontend0.6. Version 0.2 of the module is the first one for this release; use 0.1 with DMS 0.8.- An implementation of
@antelopejs/interface-database, such as@antelopejs/mongodb. - Optional:
@antelopejs/dms-automation, to use the Table watch trigger.
Next steps
Install the module
Follow Installation to add it to a DMS project.
Label your schemas
Set the driver name and schema labels in Configuration.
Explore your data
A Chart Without Code
Build an editor that lets someone choose a table, a measure and a grouping, then save a chart without writing its data route by hand. This walkthrough follows the interface calls behind the visual builder; it is not a standalone script.
Installation
Add the Database console to an AntelopeJS project that already runs the DMS and a database.