Quickstart
Start from template-dms-demo. It includes the module configuration, TypeScript build, a custom frontend layer, a component catalog, and a seeded demo application. You do not need to assemble a module stack or create another template.
Install the demo
Install Node.js 24, Git, and pnpm 10.2.0 on your PATH, and start MongoDB before running the backend. See the template's Prerequisites for details. Install or update the AntelopeJS CLI, then create a project with the DMS Demo template:
npm install -g @antelopejs/core@latest
ajs project init my-app --template "DMS Demo" --yes
cd my-app
The CLI installs both workspace packages with pnpm and preserves the template's antelope.config.ts. No setup script or .env is required for development. See Environment for optional overrides, or Getting started for the direct-clone fallback if you use an older CLI without project-template support.
Allow extra time for the first module and frontend dependency downloads. MongoDB uses the dedicated template_dms_demo database by default: use a disposable development database, since the template loads fixtures.
Start the backend and dashboard
Start the backend in the project directory:
pnpm dev
Wait for the API to answer before starting the frontend. In another terminal, from the same directory:
curl --fail http://localhost:5010/api/onboarding/informations
pnpm frontend:dev
Open http://localhost:3001. On a fresh database, complete the first-run setup to create your administrator account. Do not expect a preconfigured demo login. If setup has already completed, sign in with the account created for that database.
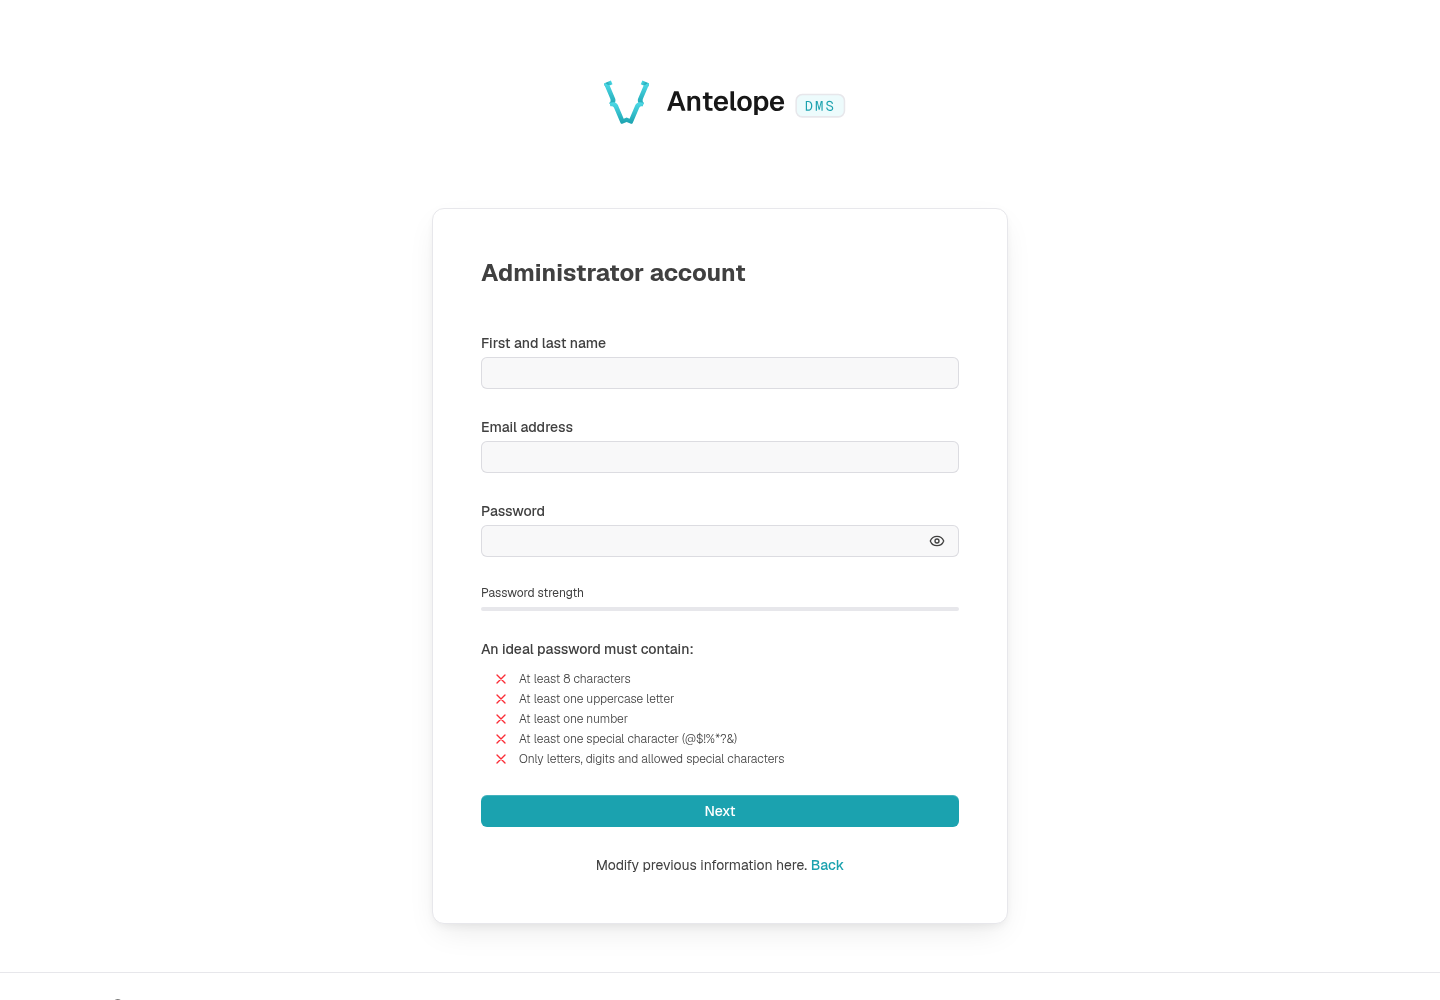
The local frontend loader discovers the running backend and its development bootstrap credential. It reads an optional .env for frontend overrides. If discovery fails, use pnpm frontend:dev -b http://localhost:5010. See Configuration in the Frontend section for remote backends and production credentials.
Explore, then change a page
Open Home, then the Components catalog and Demo app. The demo includes related users, projects, and tasks; the task screen also demonstrates a kanban board. All records are sample data.
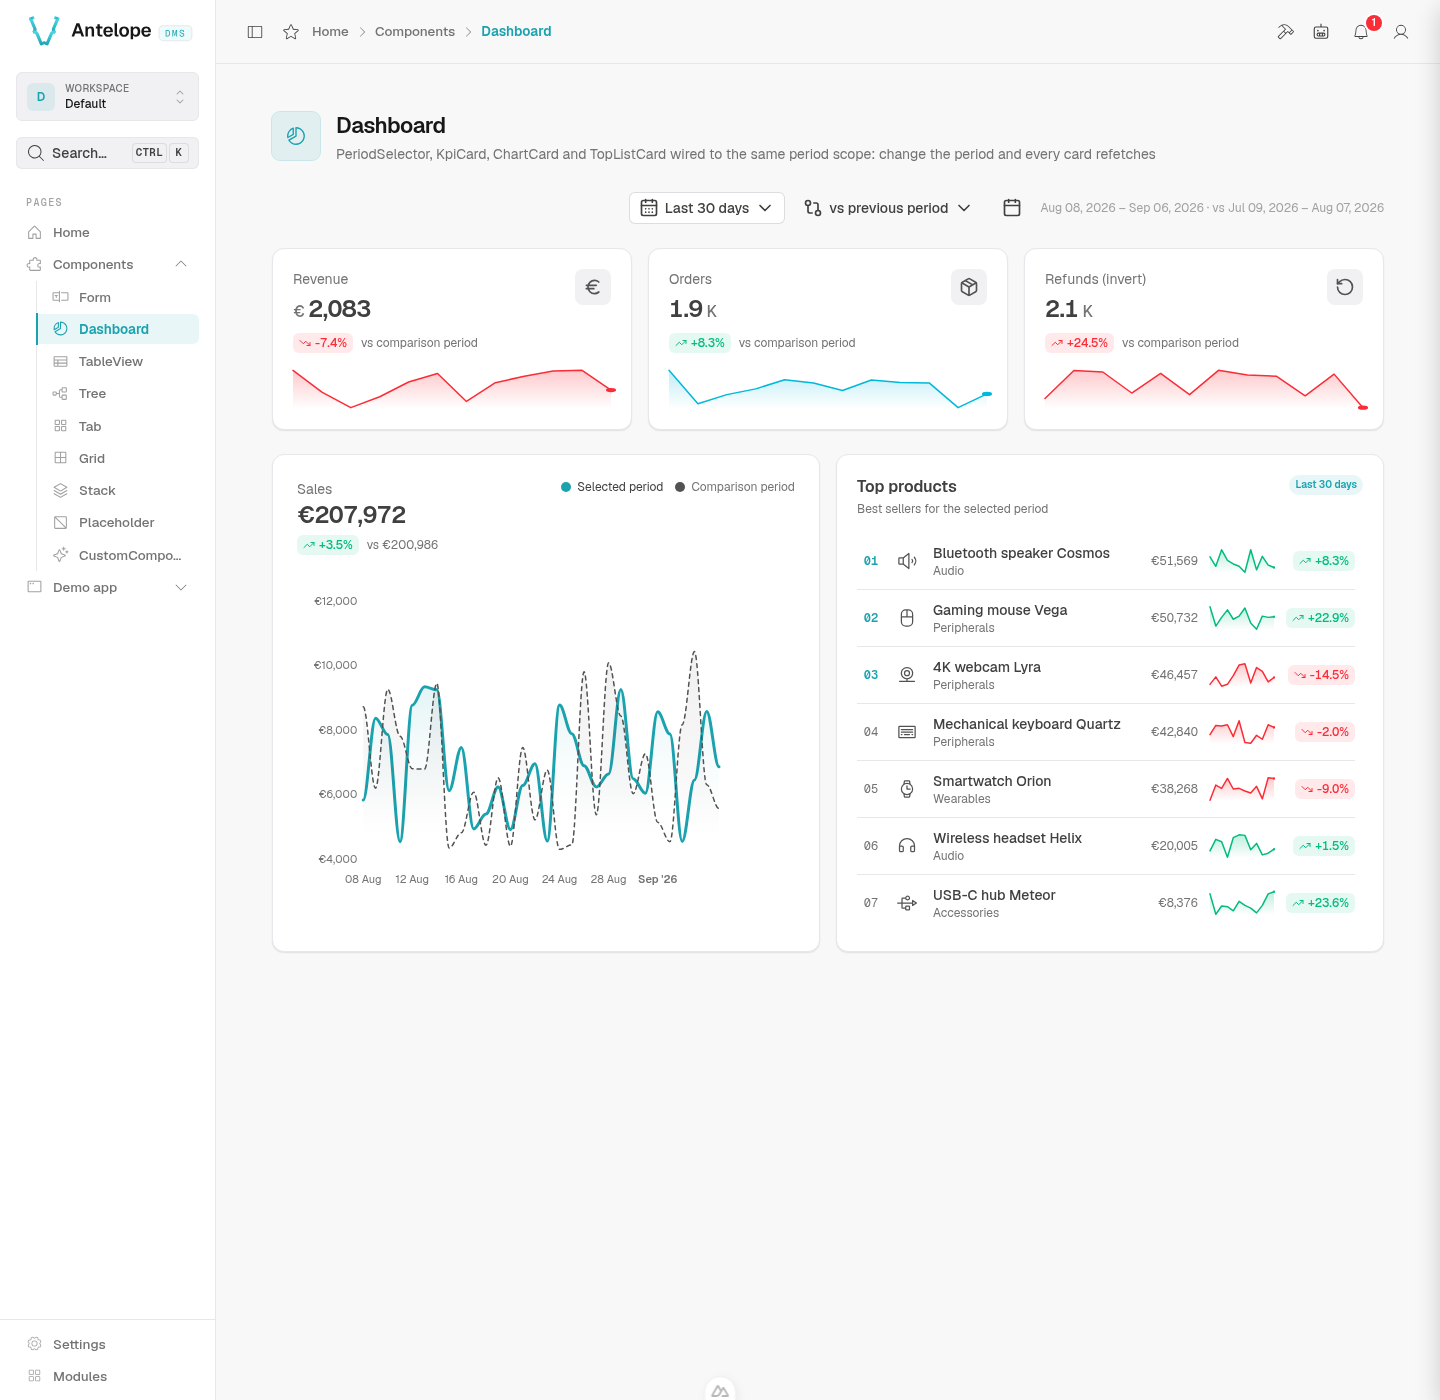
| File or directory | Change it to |
|---|---|
src/home.ts | Change the Home page registration. |
src/components/ | Adapt a working form, table, chart, or layout. |
src/demo-app/ | Follow the models, controllers, relations, and seeded data together. |
frontend-vue/i18n/locales/ | Change the English and French text referenced by $ keys. |
antelope.config.ts | Configure infrastructure or remove an optional feature module. |
Keep the default local build and module entry point while making your first change. Restart the backend first and then the frontend when changing module configuration or registered layers.
The template includes optional integrations. Stripe, AI providers, and remote deployment actions need their own credentials; they are not prerequisites for exploring the local component catalog. Do not submit payment or deployment actions with placeholder credentials. See the template README before enabling an integration.
Next steps
- Project setup explains the module configuration and lifecycle when you adapt the template or integrate an existing application.
- Tutorial adds a CRM to the running project.
- Pages & components explains how backend declarations become screens.
- Built-in dashboard covers members, roles, and settings.
- Troubleshooting covers missing pages, frontend discovery, and restart order.