Installation
These steps open your DMS dashboard in a browser. You need an existing DMS backend project; the frontend package does not create one. Install the CLI next to @antelopejs/core and invoke it with ajs dms <command>.
Requirements
- Node.js 20.12 or later.
@antelopejs/core1.16.0 or later, below 2.0, for@antelopejs/dms-frontend0.6.3.- pnpm. The generated workspace installs its dependencies with pnpm, whatever installs the project.
- A DMS backend: an AntelopeJS project that loads
@antelopejs/dmsand serves the frontend manifest. See the Compatibility table for the release that matches your DMS.
Add it to a project
Install the packages
A DMS project usually has both already: the DMS templates list @antelopejs/dms-frontend in their devDependencies.
pnpm add -D @antelopejs/core @antelopejs/dms-frontend
pnpm add -g @antelopejs/core @antelopejs/dms-frontend
Inside a package script, ajs resolves from node_modules/.bin and the dms command resolves the project's own plugin, so a script never depends on a global install. A global install is for interactive use.
Add the project scripts
The DMS templates name them like this:
{
  "scripts": {
    "dev": "ajs project dev -w",
    "frontend:dev": "ajs dms dev",
    "frontend:build": "ajs dms build",
    "frontend:verify": "ajs dms verify-source"
  }
}
Check the installation
pnpm exec ajs dms --version
The command prints the installed frontend version, for example 0.6.3. Check that it fits your DMS frontend module's supported range.
Run the dashboard
The local loop needs two terminals and no configuration: the backend publishes its address and a development credential in the project's .antelope/ directory, and ajs dms dev reads both.
Start the backend
pnpm dev
Wait for Server started, listening on http://127.0.0.1:5010 in its log.
Start the frontend
From the project directory, or any directory below it:
pnpm exec ajs dms dev
The first run generates a workspace and installs its dependencies. Later runs reuse it. The following output is from a demo run; package counts, timings, ports and modules depend on your project:
ajs dms dev  http://127.0.0.1:5050 · development
ℹ Backend discovered from .
✔ Workspace ready 3.2s
✔ Dev server ready in 7.1s

  ➜  Local:     http://localhost:3005/
     Backend:   http://127.0.0.1:5050
     Workspace: ~/.antelopejs/dms-frontend/8aa5ac7c…
     Secrets:   DMS_HTML_RENDER_SECRET, DMS_OAUTH_RELAY_SECRET from the manifest
     Watching 12 layer sources · Ctrl+C to stop

Routing: renderer files, then 21 module routes, then the backend proxies below, then the pages
  /api/**    -> backend (session), declared by antelopejs__dms-frontend-vue
  /dms/**    -> backend (session), declared by antelopejs__dms-frontend-vue
  /ai/**     -> backend (session), declared by @antelopejs/dms-ai-frontend-vue
  /i18n/**   -> backend (none), declared by @antelopejs/dms-lang-frontend-vue
  /media/**  -> backend (session), declared by @antelopejs/dms-media-frontend-vue
This run used the DMS demo template on ports 5050 and 3005; with the defaults, the backend answers on 5010 and the dashboard on 3001.
Open the dashboard
Open the Local URL. A fresh database starts on the onboarding page, which creates the platform and its first administrator.
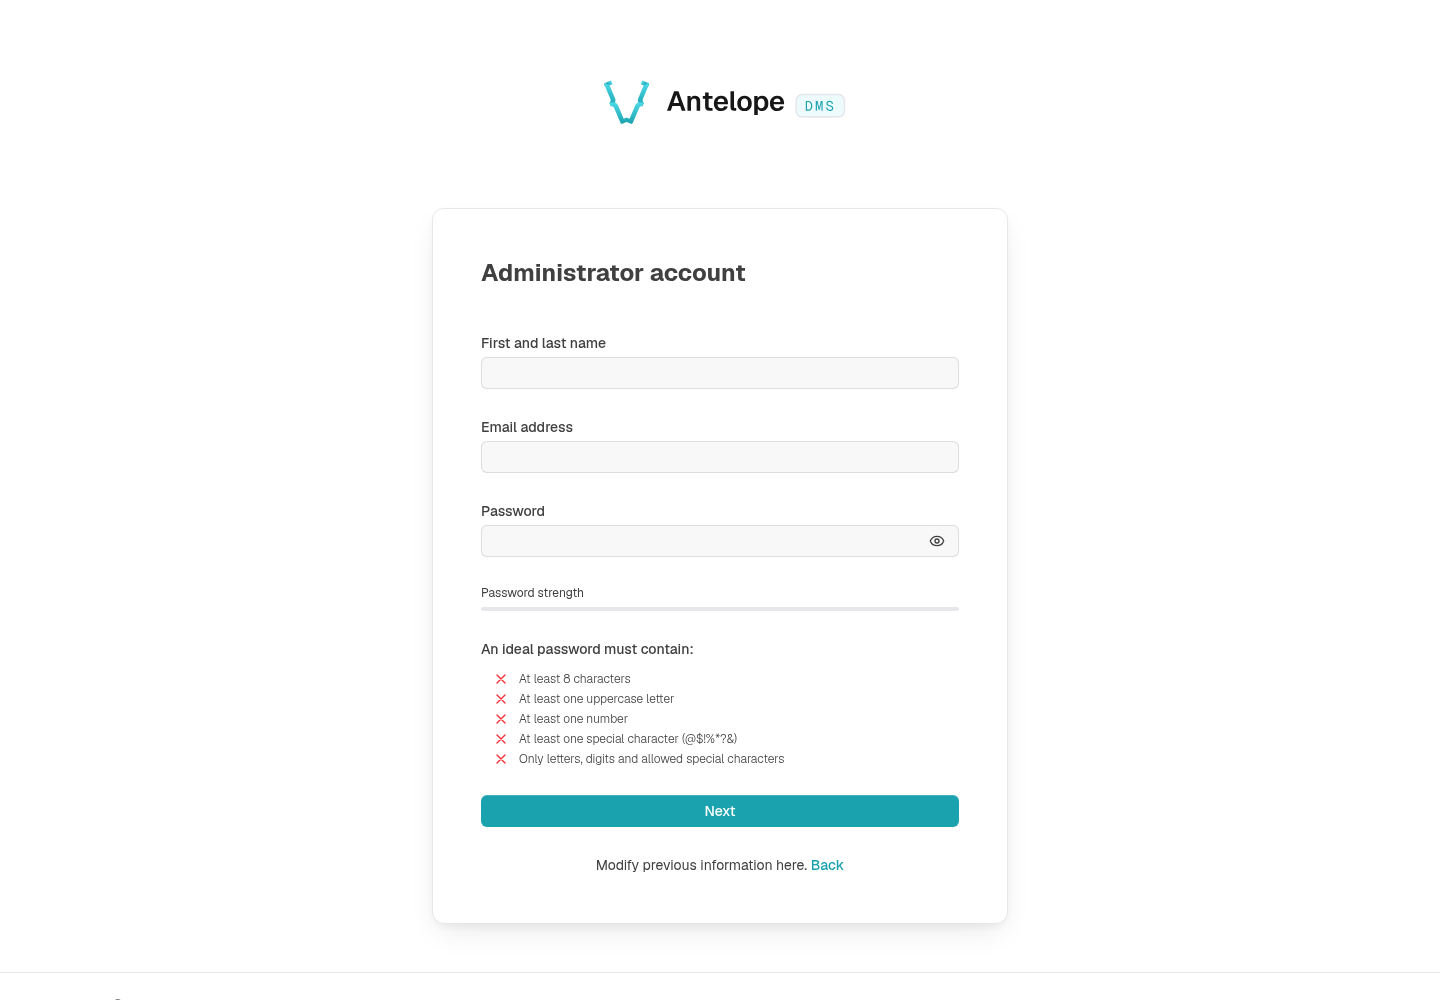
This existing DMS demo capture shows the Administrator step, after the platform details, not a sign-in form. Follow the onboarding walkthrough for the complete sequence. An already initialized database instead uses the built-in sign-in screen.
ajs dms dev listens on 127.0.0.1 only. Set HOST=0.0.0.0 to reach the development server from another machine.Next steps
- CLI overview lists every command and the options they share.
- Configuration explains the
.envfiles and every variable. - Production builds and serves the dashboard for real traffic.